
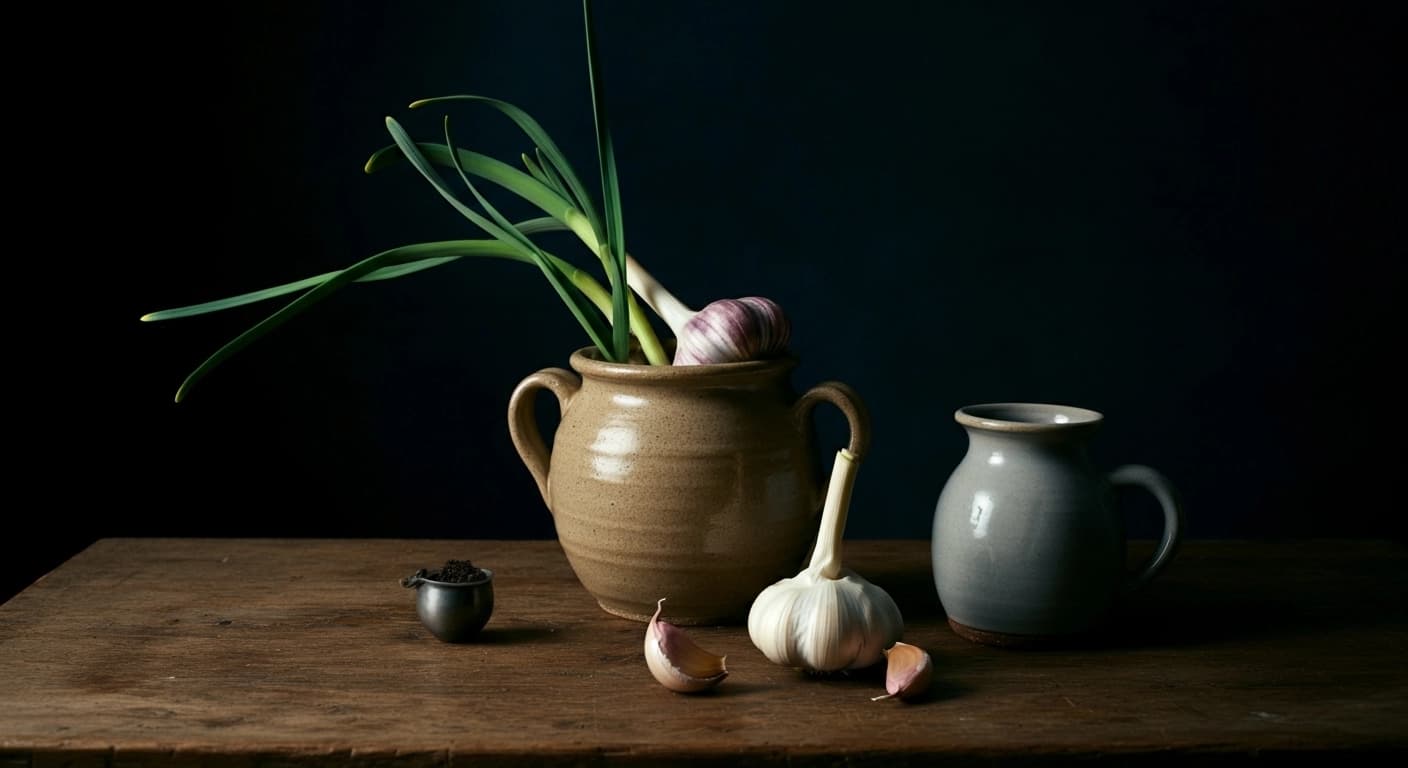

A little garlic story to get you in the mood.
The quiet season of growing garlic is finally reaching its peak as the summer solstice approaches. If you tucked your cloves into the cold, damp soil back in October, you have spent months staring at green shoots that seem to do very little. Right now, beneath the surface, those single cloves are transforming into fat, segmented bulbs. The anticipation is a specific kind of garden tension. You know they are there, getting plump and building those sticky essential oils that define our kitchen lives. Within the next four weeks, the leaves will begin to yellow at the tips, signaling that your wait is almost over and the heavy lifting is done.
Mastering the final weeks of the process is about observation and restraint. We are entering the window where the flavour profile reaches its maximum intensity. The dirt is dry, the air is warm, and the plant is shifting its final resources from the green leaves down into the underground treasure. This is the moment where many gardeners get impatient and dig too early, resulting in small bulbs that lack the complex bite we crave. If you can wait until the lower leaves are brittle, your reward will be a flavour bomb that outshines anything found on a supermarket shelf.
Mastering the Final Stages of Growing Garlic
The first physical sign that the harvest is near is the appearance of scapes. These curly flower stalks emerge from the centre of the plant and loop toward the sky. In the world of growing garlic, scapes are a culinary bonus. You should snap them off as soon as they complete their first curl. Removing the scapes forces the plant to direct every bit of its energy into the bulb rather than wasting it on flower production. I like to chop these up and sauté them with a bit of butter and salt. They offer a mild, grassy heat that provides a preview of the harvest to come.
As the harvest date approaches, your relationship with the watering can must change. Stop watering your garlic patch entirely about three or four weeks before you plan to lift the bulbs. Dry soil is the absolute key to a successful harvest. If the ground remains damp during this final stretch, the outer skins of the garlic can begin to rot before they have a chance to harden. This leads to bulbs that do not store well and cloves that may spoil prematurely. Let the earth bake and crack around the stems. This environmental stress tells the plant to toughen up its outer parchment for the long months of storage ahead.
Recognising the Signs of a Ready Harvest
Reading the leaves of the plant is the most reliable way to time your harvest. Each green leaf on the stalk corresponds to a layer of protective skin around the bulb. You are looking for the sweet spot where the bottom three or four leaves have turned brown and crispy, while the top five or six remain green. If you wait until the whole plant is brown, the skins will have disintegrated in the soil, leaving the cloves exposed. Exposed cloves are prone to bruising and will dry out much faster once they are out of the ground.
Before you dig up the entire bed, perform a simple test with one or two plants. Carefully brush away the soil around the neck of the bulb. Feel for the individual bumps of the cloves beneath the skin. If the bulb feels firm and the ridges are well-defined, the garlic is ready for the light of day. Here are a few tips for the actual digging process:
- Use a garden fork to lift the soil from underneath the root system rather than pulling by the stem.
- Keep the stalks attached during the initial drying phase to allow nutrients to finish moving into the bulb.
- Avoid leaving the freshly dug bulbs in direct, scorching sunlight for more than an hour.
- Handle them gently to prevent bruising the delicate cloves inside.
Curing Your Earthy Treasure for the Winter Stash
The transition from the garden to the kitchen requires a period of curing. Once the bulbs are out of the earth, they need a cool, shaded spot with plenty of airflow to dry out properly. I use an old wire rack in a ventilated shed, but hanging them in loose bundles from the rafters also works perfectly. The goal is to let the outer skins become papery and the roots to turn into dry, brittle tufts. This process takes about two to three weeks depending on the humidity of your local climate.
Cleaning your harvest is the final, satisfying task of the season. Once the curing is finished, use a soft brush or your hands to rub away the remaining dry mud. Avoid using water at this stage, as any moisture can encourage mould. Trim the roots back to about a centimetre and cut the stalks if you do not plan on braiding them. The result is a pile of clean, potent bulbs that are ready to power your cooking until the next planting season begins. The smell of a curing room is one of the great joys of a garlic enthusiast, a scent of hard work and future feasts.
Save the largest, healthiest bulbs from your harvest to use as seed for next year. They are already acclimated to your soil and climate, making them the perfect candidates for your next round of planting when the frost returns.